Kayak Storage Over Winter
As an Amazon Associate I earn from qualifying purchases.
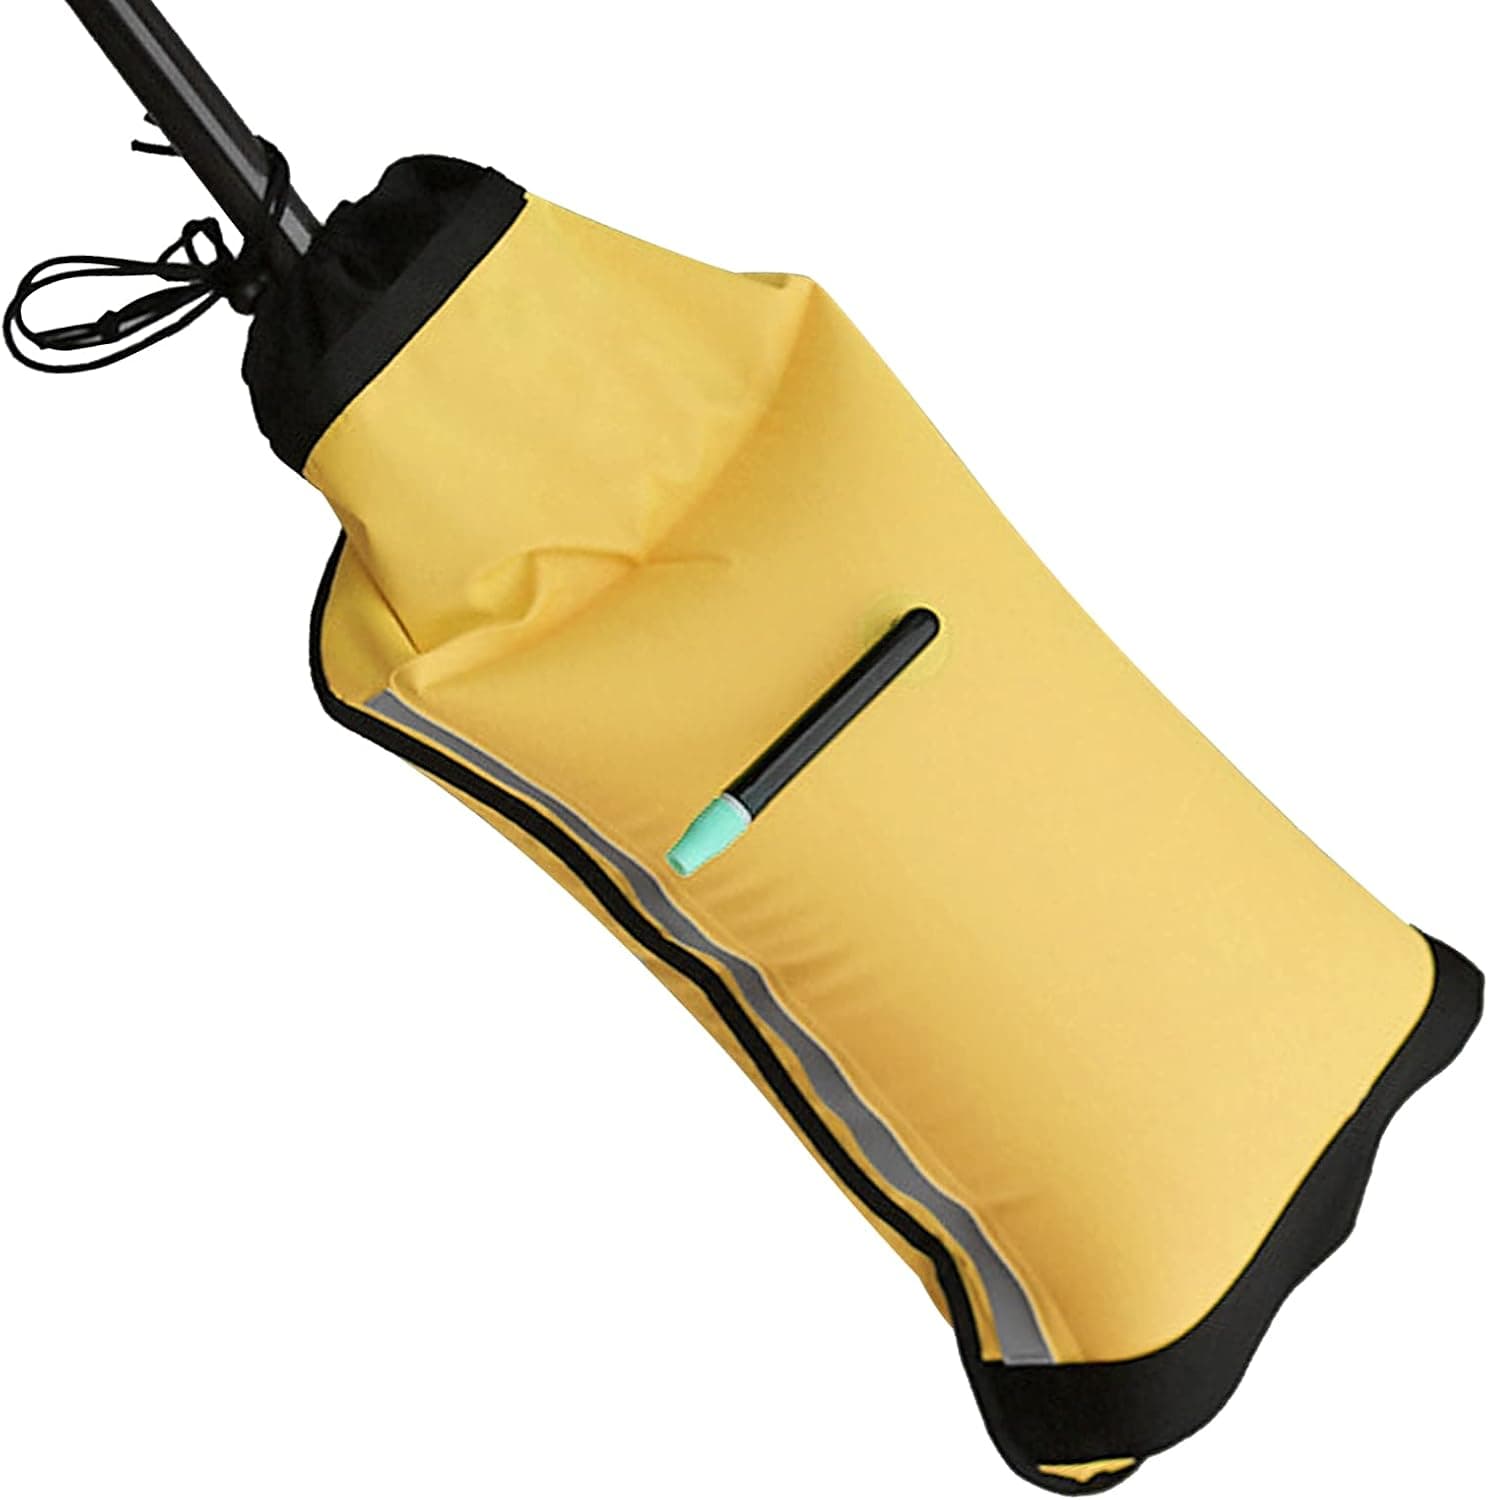
Most kayak damage happens on land, not on the water. Hulls warp, hatches perish, and plastic turns chalky, all while the boat sits untouched for months. Winter storage is simple once you understand the two enemies: pressure on the wrong part of the hull, and ultraviolet light. Get those right and a kayak will look and paddle well for decades.
Support is the first principle. A kayak should rest on its strongest areas, which are the sides near the bulkheads, not on a single narrow point in the middle. Storing a plastic boat flat on its hull on hard ground, or hanging it from a single strap in the middle, creates flat spots and dents that can become permanent, especially in warm weather. The best options are wide padded straps or cradles positioned about a third of the way in from each end, or a rack that supports the boat on its side.
On its side or upside down are both good. Storing on the side spreads the load onto the strong chine areas and is the usual recommendation for plastic boats on wall racks. Upside down on padded bars also works well and keeps water out. Avoid storing right side up outdoors, since the cockpit collects water, leaves, and eventually ice, and freezing water expands with real force. Whatever the orientation, loosen or remove tight straps for long storage so the hull is not compressed for months. Indoors is best if you have the space. A garage, shed, or basement protects from ultraviolet light, temperature swings, and precipitation. Wall-mounted racks, ceiling hoists with wide slings, or simple padded sawhorses all work. Keep the boat off concrete floors where damp collects, and away from heat sources such as radiators or wood stoves, since prolonged heat can soften and deform plastic hulls.
Outdoors requires more care but is entirely workable. Get the boat off the ground on a rack, then cover it with a breathable cover or a tarp arranged so it does not trap moisture underneath. A tarp draped tight against the hull creates condensation and can also hold snow load, so pitch it so snow slides off and air can move. Cover the boat rather than wrapping it airtight. If sun exposure is unavoidable, apply a UV protectant made for plastics a couple of times a season, and consider that a light-coloured boat fades less noticeably than a bright one.
Prepare the boat before it goes away. Rinse thoroughly with fresh water inside and out, especially after salt or brackish paddling, and let it dry completely. Remove and clean the seat pads, foam, and any fabric. Open the hatches or store the covers off the boat so the rubber does not stay compressed and take a set, and so the compartments air out. Treat rubber hatch covers with a silicone-based protectant. Loosen rudder and skeg cables slightly, rinse them, and check for corrosion. Take out anything you would not want to find in spring, particularly damp foam and any food.
Store your other gear thoughtfully at the same time. Hang the life jacket loose rather than crushed, dry the spray skirt fully and store it flat or loosely rolled, split two-piece paddles and clean the ferrule, and dry out any pumps and bags. Mice and insects will happily move into a kayak or a hatch left in a shed, so a sealed hull with covers stored separately in the house avoids surprises.
In spring, do a proper check before the first trip. Look for new cracks, deep gouges, and soft spots, especially around fittings and bulkheads. Test that the hatches still seal by filling the compartment with air and pressing, or simply by floating the boat and checking for water afterward. Inspect deck lines and bungees for sun damage, retighten fittings, and give the seat and foot braces a once-over. Twenty minutes in the driveway means the first paddle of the year is about paddling rather than problem solving.