Why Your Sit-On-Top Kayak Has Water Inside and What to Do
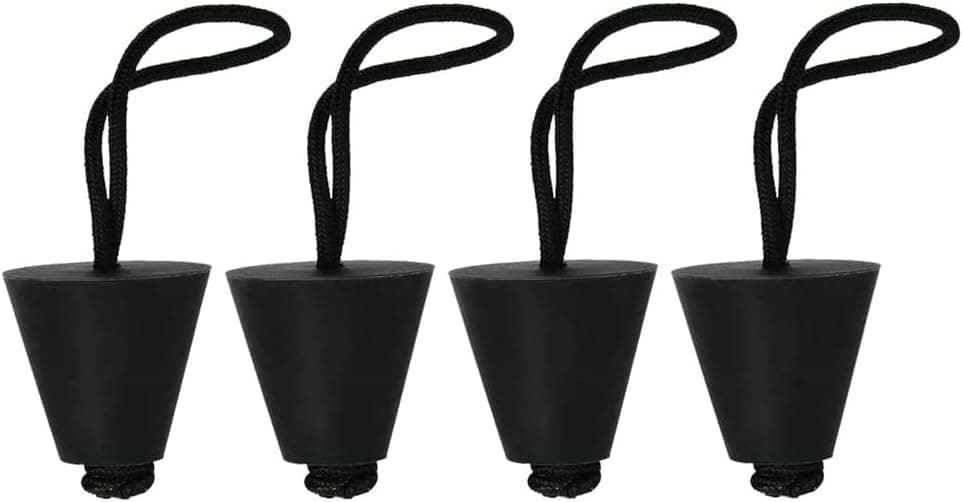
Sit-on-top kayaks are designed to be self-bailing, so a little water sloshing around your seat is normal. What is not normal is a kayak that feels heavier and less stable as the day goes on, or water pouring out of the hull when you tip it on land. Knowing the difference between water on deck and water inside the hull helps you decide whether you need scupper plugs, a better seat or a proper leak repair.
Understand scupper holes
Scupper holes run from the deck through the hull and let water that splashes onto the kayak drain back out. Because they connect directly to the lake or sea, water can also come up through them, especially when the kayak sits low under a heavier paddler or a load of gear.
A puddle around the seat and feet is therefore expected on many sit-on-top kayaks. It does not mean the kayak is leaking, and the holes are an important safety feature that keeps the kayak from filling with water after waves or a capsize.
Reduce water on deck
Scupper plugs block some or all of the holes and keep the seat area drier on calm, flat water. Many paddlers plug only the seat scuppers and leave the foot well scuppers open so splashes can still drain.
Remove plugs in rough water, surf or whenever waves are breaking over the deck, since blocked scuppers let water collect on the kayak. An elevated seat also keeps you above the puddle without changing drainage.
Check whether the hull is taking on water
Water inside the hull is a different problem. Signs include the kayak sitting noticeably lower, feeling sluggish or tippy, and water sloshing inside when you lift one end on land.
Open the hatches after paddling and look for pooled water. If there is more than a small amount from rain or hatch drips, find the source before your next trip.
Find the source of hull leaks
Common leak points include hatch seals, deck fittings such as rod holders and deck lines, drain plugs and cracks around scupper tubes. Fill the hull partly with water on land and look for drips, or press gently on areas while watching for bubbles in shallow water.
Check the drain plug is tight and its gasket intact. Inspect the hull for cracks, especially after dragging the kayak over rocks or concrete ramps.
Repair common leaks
Tighten loose fittings and reseal them with marine sealant compatible with polyethylene. Replace worn hatch gaskets and drain plug O-rings.
Cracks in polyethylene kayaks can be repaired with plastic welding kits or professional repair. Adhesive patches may be temporary and should be monitored.
Stay safe on the water
A kayak taking on water in the hull loses stability and buoyancy, which is dangerous far from shore. Carry a bilge pump or sponge and paddle close to shore until leaks are fixed.
Always wear a PFD and know how to re-enter your kayak. Store kayaks drained and with hatches open slightly to dry.