Cleaning and Maintaining a Kayak
As an Amazon Associate I earn from qualifying purchases.
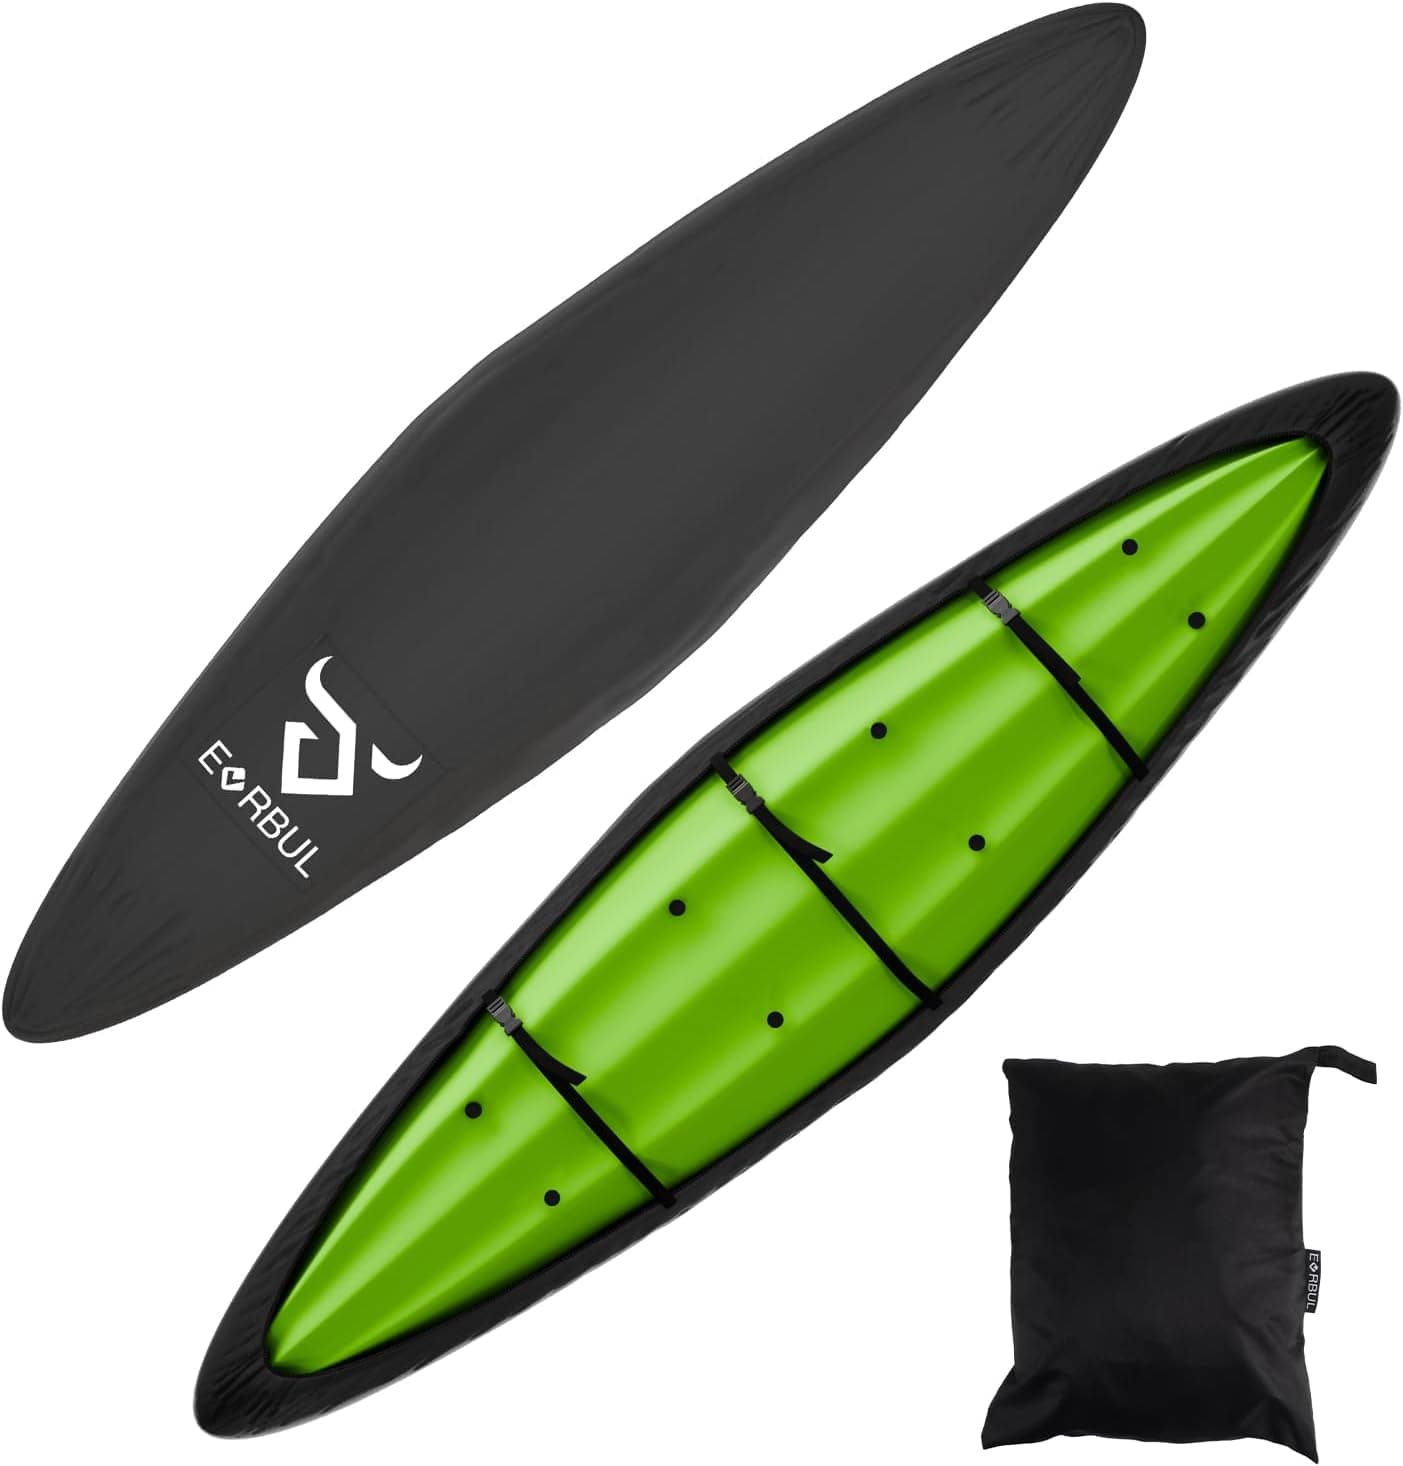
Kayaks need only a rinse after every trip and a proper check twice a season. Rinse the hull, cockpit, hatches, and every fitting (salt attacks metal, cables, and rubber), then drain and dry with hatches open. Wash occasionally with warm water and mild soap, keep rudder and skeg cables sliding freely, and replace deck lines and bungees when they look faded since they rot from sunlight, not use. Fix hull scratches and hatch leaks promptly because cracks spread and wet compartments compromise flotation. Kayaks are famously low maintenance, which is exactly why they get neglected until something fails at an inconvenient moment. A rinse after every trip and a proper check twice a season is all most boats need, and that small habit prevents almost every common problem: seized cables, leaking hatches, sun-rotted deck lines, and gradual hull damage. Rinsing is the core habit. Fresh water paddling leaves silt and organic material that encourages mildew and can spread invasive species between waterways. Salt water leaves crystals that attack metal fittings, stiffen fabric, and degrade rubber. Rinse the outside, the cockpit, the hatch compartments, and every fitting after each trip, then let the boat drain and dry with the hatches open. On salt water especially, pay attention to skeg boxes, rudder assemblies, cables, and any bolt heads, since these are where corrosion starts.
A proper clean: mild soap and a soft brush
For a proper clean, use warm water and a mild soap with a soft brush or sponge. Avoid harsh solvents and abrasive pads on plastic and gelcoat. A mild cleaner removes the greasy film that builds up around the cockpit and the waterline. Rubber hatch covers benefit from an occasional wipe with a silicone-based protectant, which keeps them supple and sealing well; leave them slightly loose when storing so they do not deform.
Moving parts need periodic attention
Moving parts need periodic attention. Rudder and skeg cables should slide freely without resistance. Flush them with fresh water, and if a skeg jams with grit, work it back and forth gently rather than forcing it, since bending a cable is easy and annoying to fix. Check pedal assemblies, foot brace tracks, and seat hardware for salt buildup and loose bolts. Stainless hardware still corrodes in salt, so inspect and replace anything showing rust streaks or pitting.
Deck lines and bungees are safety equipment
Deck lines and bungees are safety equipment and they age from sunlight, not from use. Perished bungee loses its stretch and cord goes stiff and pale before it breaks, usually at the worst possible moment. Replace them when they look faded or feel brittle, which is an easy job with a few metres of cord and a lighter to seal the ends. While you are there, check the security of every deck fitting and pad eye, and confirm that grab toggles at bow and stern are sound, since those are what you will grab after a capsize.
Hull repairs depend on the material
Hull repairs depend on material. Light scratches on polyethylene are cosmetic and can be left alone; a shallow fuzz of plastic can be carefully trimmed with a sharp blade. Deeper gouges that go more than a millimetre or two deserve attention, and plastic welding with a compatible rod is the proper fix. Composite boats with gelcoat chips are repaired with a gelcoat repair kit, and any damage that exposes fibres should be repaired before the layup starts to absorb water. Small cracks in either material spread, so fix them promptly rather than at the end of the season.
Test for leaks periodically
Test for leaks periodically. Dry the inside of a compartment, paddle a normal trip, then check for water. A wet compartment usually means a hatch seal, a bulkhead seam, or a fitting that has worked loose. Bulkhead seams can be resealed with a flexible marine sealant. A slowly leaking hatch is easy to live with and easy to forget, but it also means your dry storage is not dry and your flotation is compromised.
Build a simple maintenance schedule
Build a simple schedule. After each trip: rinse, drain, dry, hatches open. Monthly during the season: check deck lines, bolts, cables, and hatch seals. Twice a year: a full inspection with the boat on trestles in good light, looking at the hull from every angle. Keep a small kit of spare bungee, cord, a few bolts, sealant, and tape. Kayaks that get this treatment routinely last twenty years and more, and they sell well when the day comes to move on to something different.
Frequently asked questions
How do I maintain a kayak? Rinse the hull, cockpit, hatches, and fittings after every trip and dry with hatches open; monthly, check deck lines, bolts, cables, and hatch seals; twice a year, do a full inspection in good light.
Why do I need to rinse my kayak after paddling? Fresh water leaves silt and organic material that encourages mildew and can spread invasive species; salt water leaves crystals that attack metal fittings, stiffen fabric, and degrade rubber.
When should I replace kayak deck lines and bungees? When they look faded or feel brittle, because they age from sunlight rather than use and tend to fail at the worst moment. It is an easy job with a few metres of cord and a lighter to seal the ends.
How do I fix scratches in a plastic kayak? Light scratches on polyethylene are cosmetic and can be left or the fuzz trimmed with a sharp blade. Deeper gouges need plastic welding with a compatible rod, and small cracks should be fixed promptly because they spread.